


5 Mistakes to Avoid in Landscape Photography
Show Notes
Working through my photography archives I notices 5 mistakes that I made constantly when I first began landscape photography, so here are 5 mistakes which you should really avoid!
Landscape photography can be a lot of fun but it can also be very frustrating when you see amazing images by other photographers and you want to produce similar images, these 5 mistakes were preventing me from creating amazing images and you can see that for yourself in the example images.
By going back to when I first started to shoot in RAW, I noticed a lot of mistakes! The purpose of this video is to go over those 5 mistakes so that you don’t have to make them. At the time that I took these images I was often very pleased with my effort in the moment but I wasn’t really planning on using my images for anything in particular. I wasn’t editing them, they just sat on my hard drive but these 5 mistakes are serious errors that I made in the field and which I am now completely aware of and avoid.
I hope that you find this advice useful and that you avoid these mistakes moving forward! I am going to work through these from the least damaging mistakes to the most damaging mistakes you can make. So let’s get started with number 5
For inspiration, knowledge and fun check out my YouTube channel!
Onto the Images
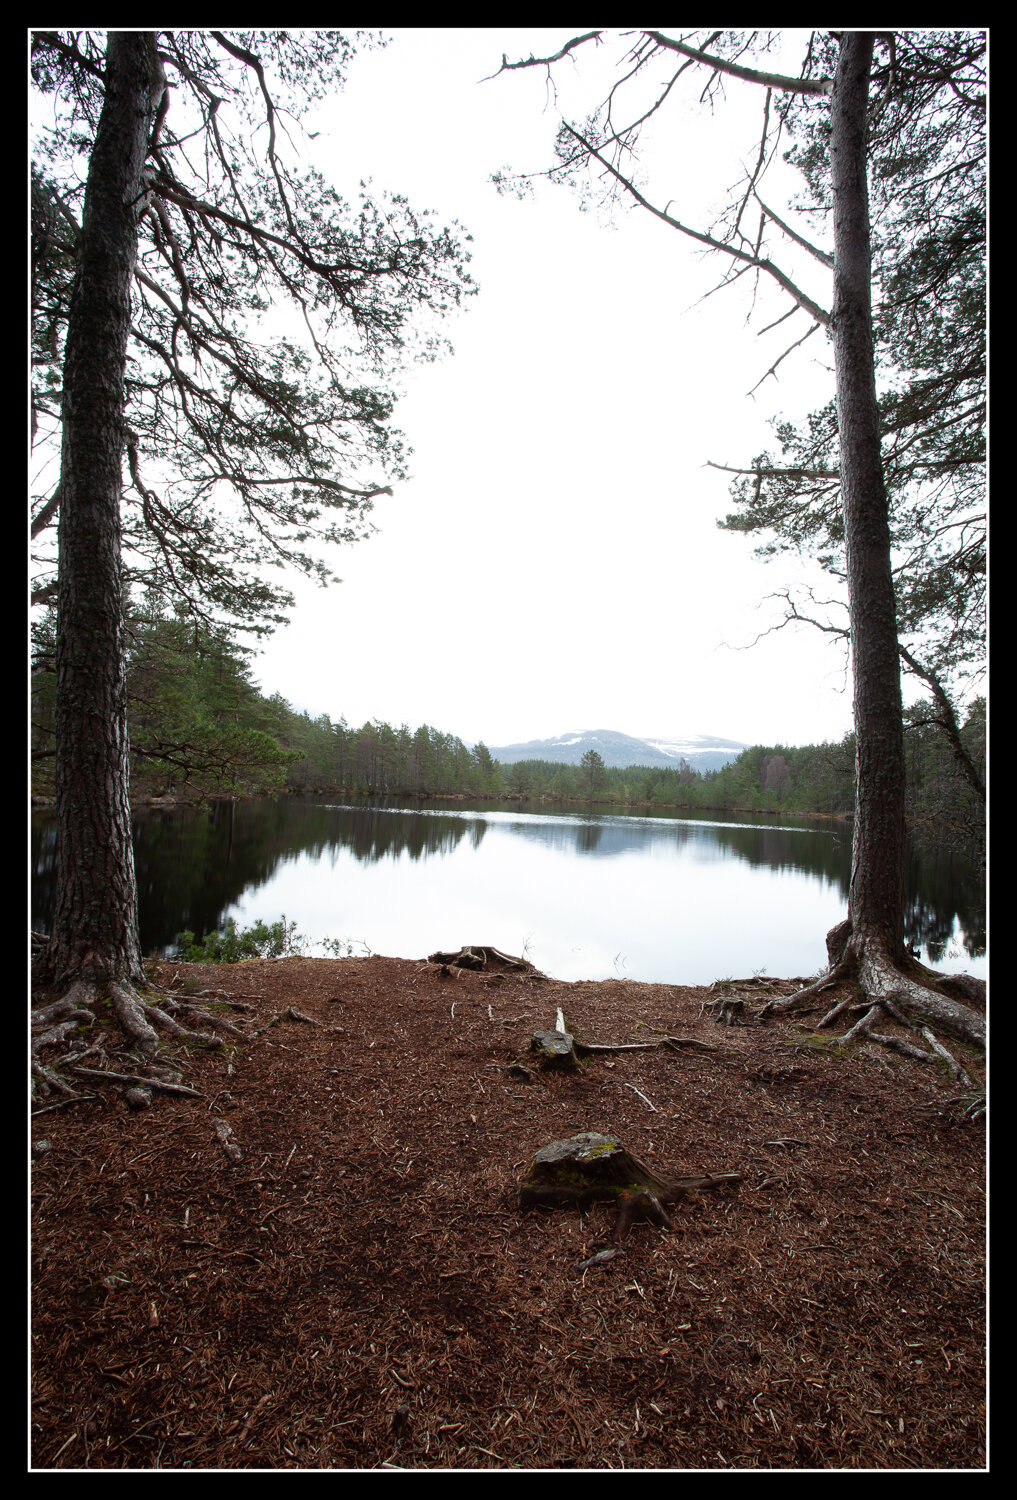
Mistake 5 - Not Checking the Edges
To be honest this is a mistake that I still make now, often I’m wrapped up with getting the shot or worried that I am going to miss the best light that I still make mistakes in the field, often they are to do with my composition and not examining my frame properly.
I’ll just rush into a position, quickly find a composition, snap a few pictures as the light develops, then rush off to find another one. I move too fast and I make mistakes. Usually it’s because I’m excited about the conditions and the light. Sometimes I’m just tired and lack concentration!
But if I took the time to examine my frame more and to finely tune my composition I would create stronger and better images. In particular, I never looked at the edges of my images.
I would often have branches or lights or random objects just creeping into shot or I might cut off a tree that I wanted in the composition.
These random objects on the edge distract from the subject and the light that you are trying to capture. Now of course you can clone them out when editing but sometimes it’s just not practical and if you just step 2 feet to the side, you could’ve eliminated those distracting elements.

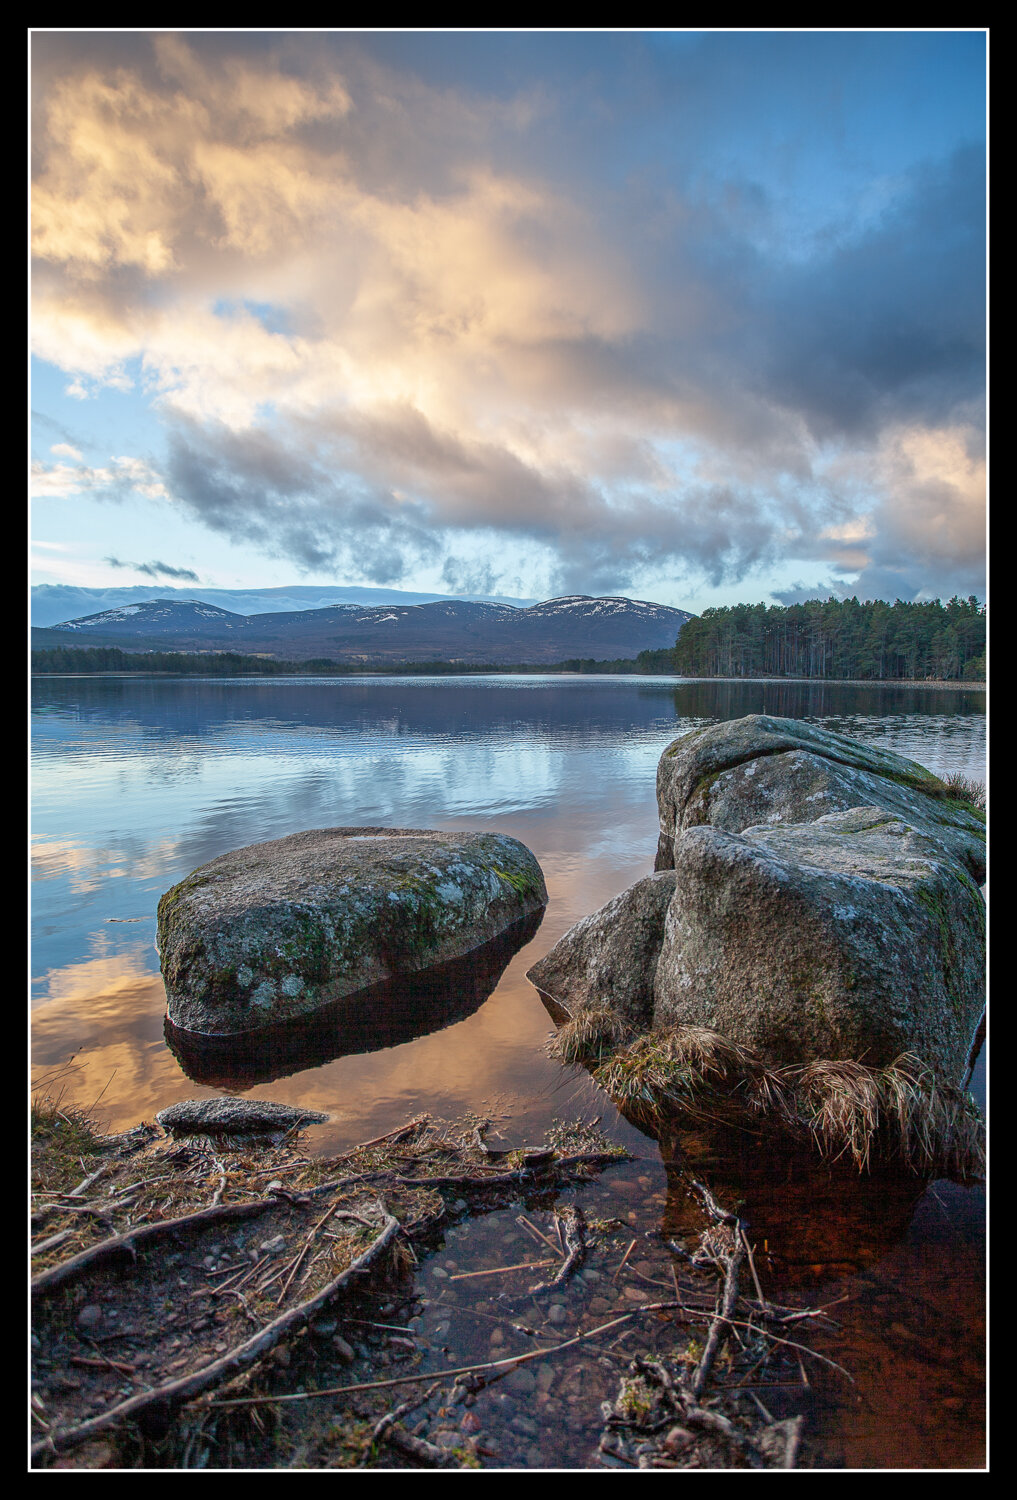
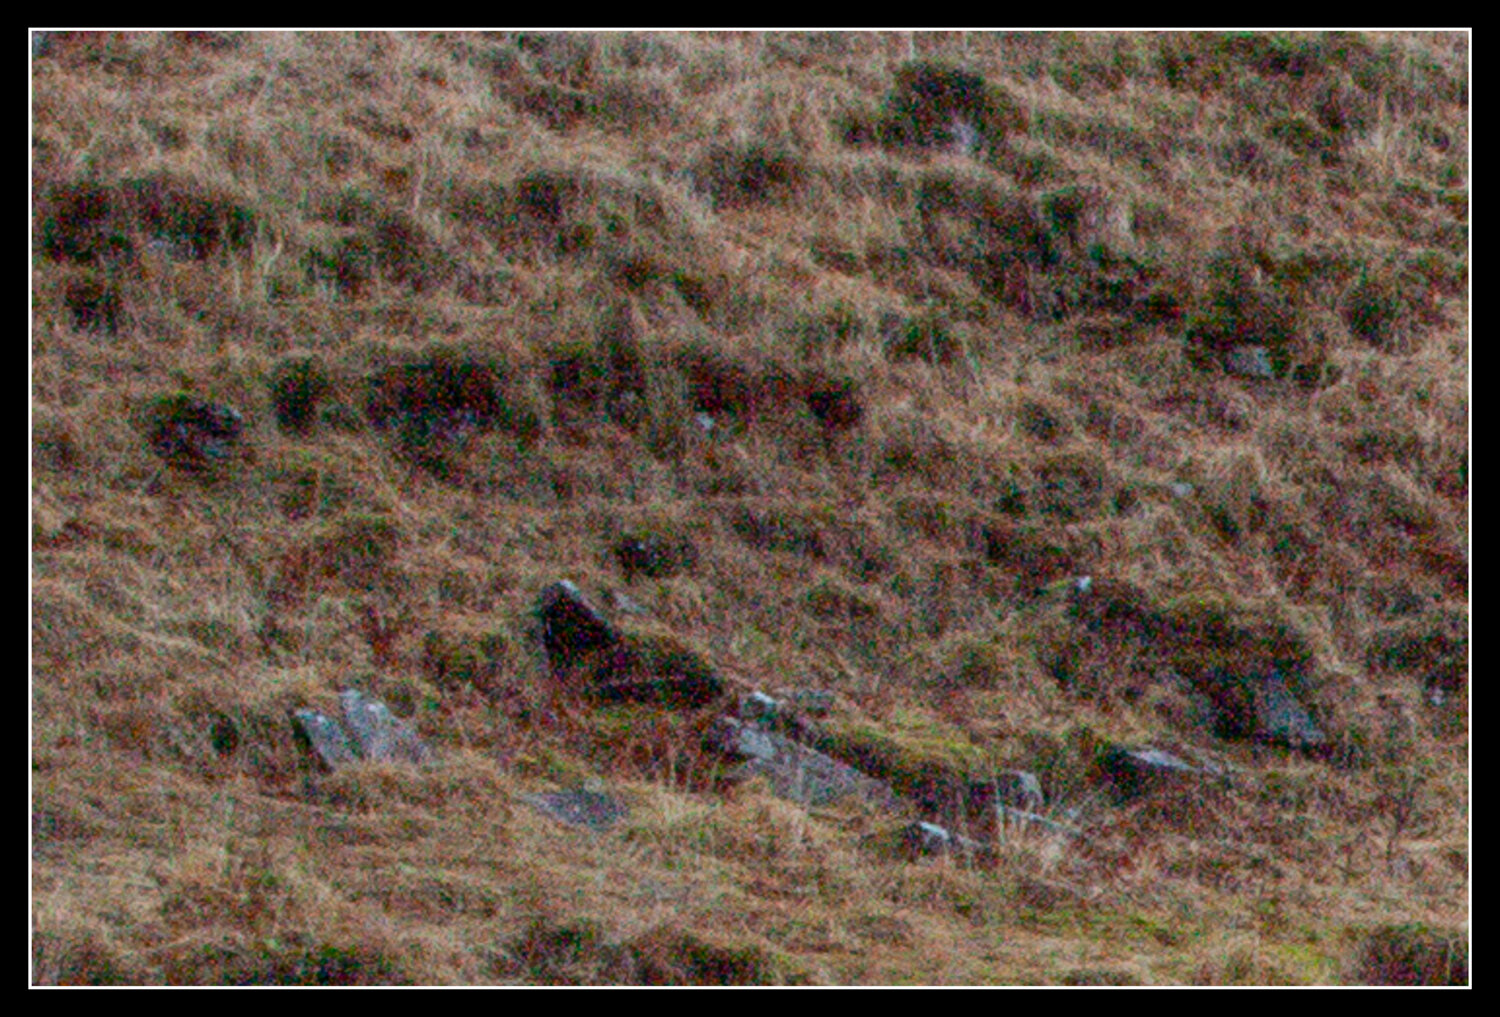
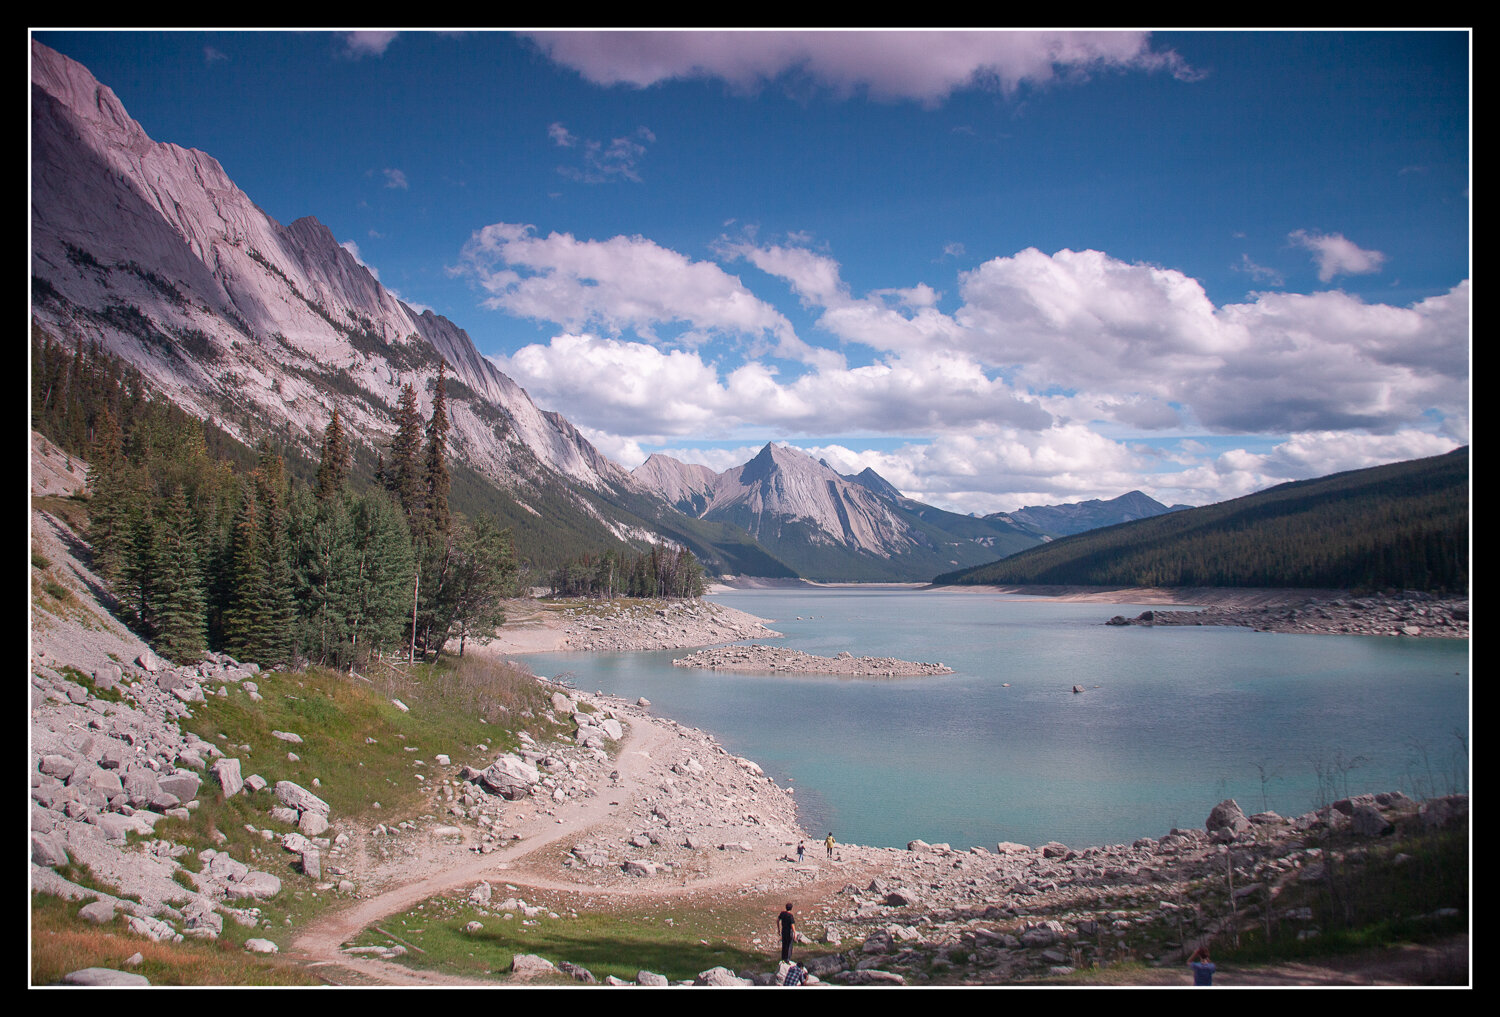
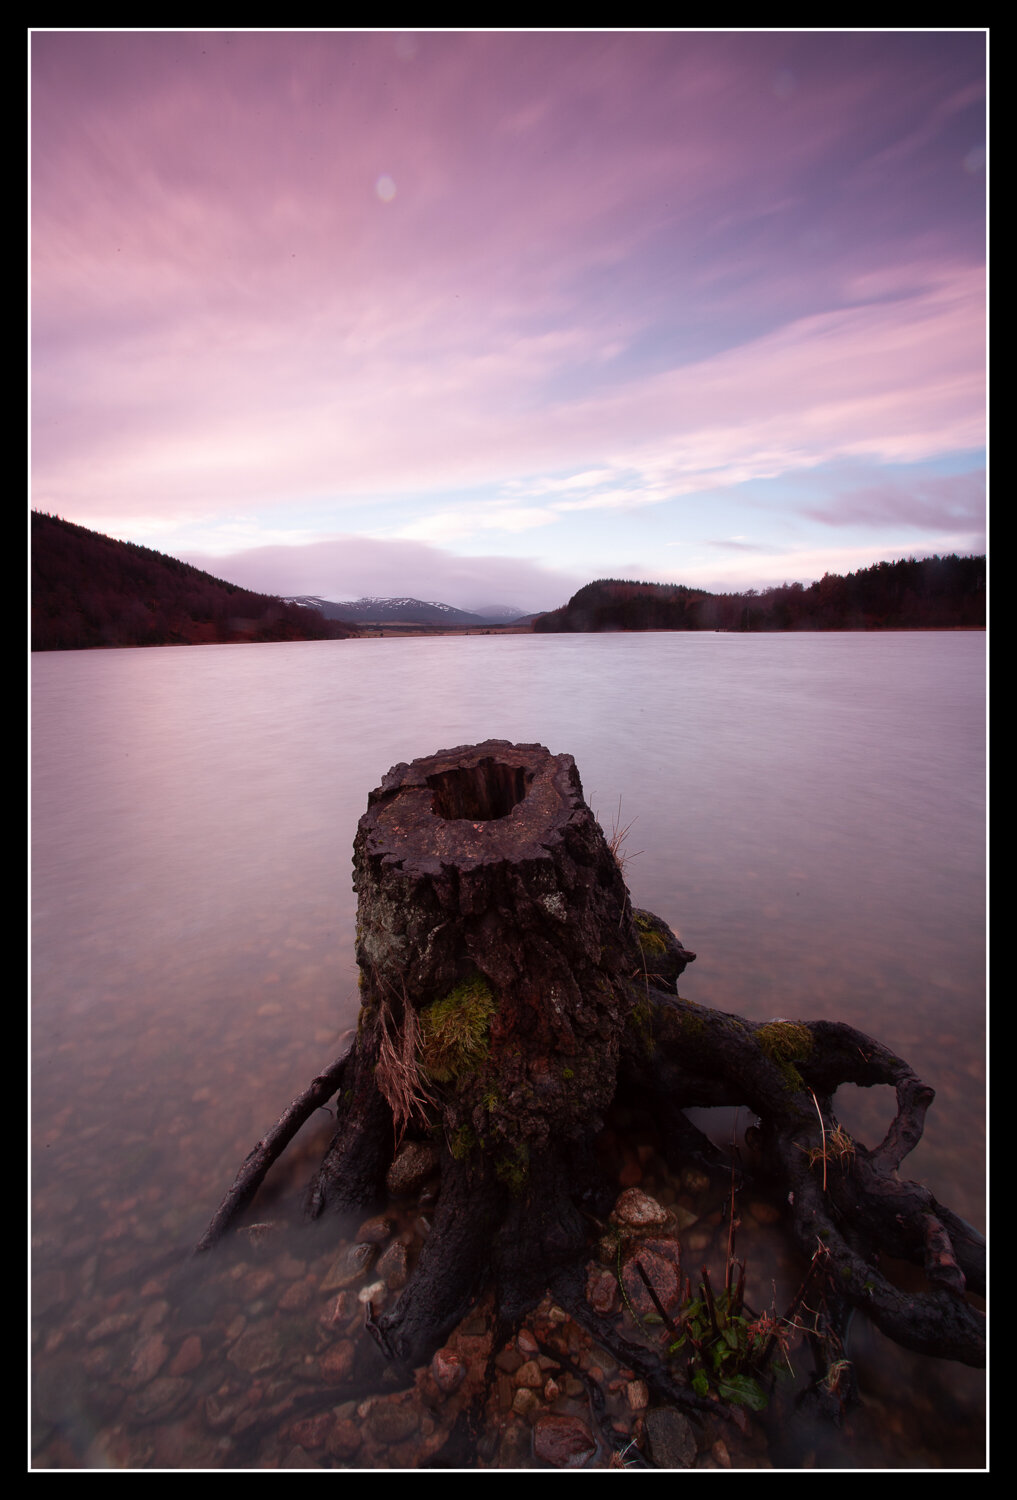
Mistake 4 - No Clear Subject
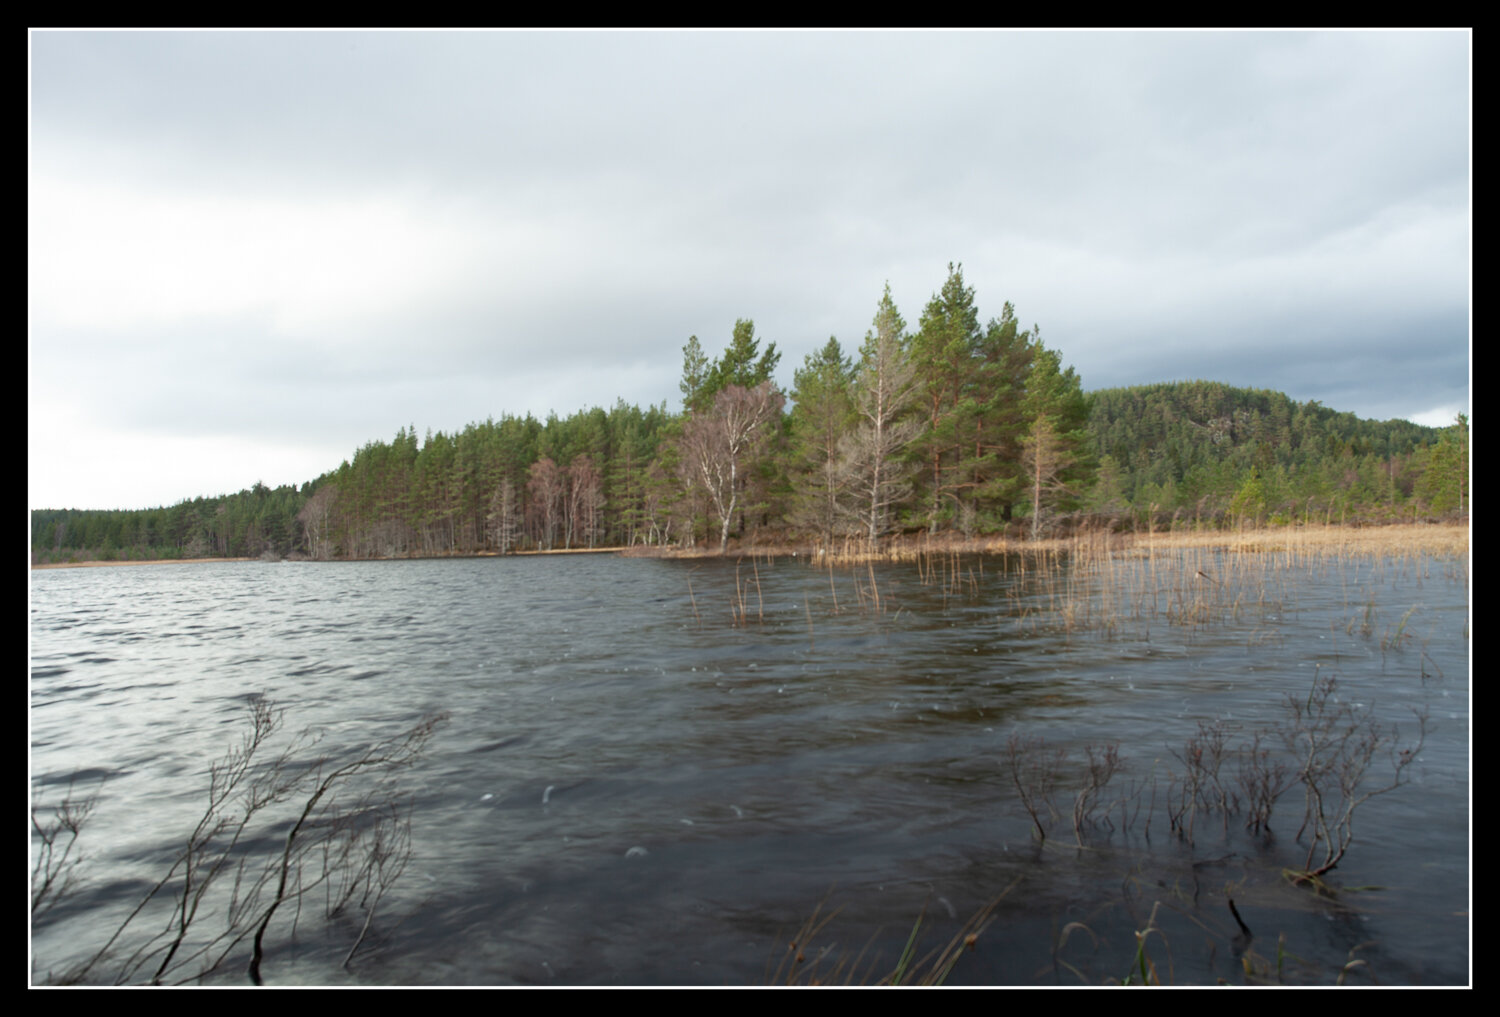
As I was working through my photo archives I came across a lot of images which I had to really question what the hell was I trying to photograph?
Honestly, 6-7 years later and I have no idea. Was it the light? Was it the landscape? Was it the floor? I have no idea!
These images are absolutely useless because there is no subject. It feels as if I just poked the camera in a random direction and took an image. But I know that I was using a tripod and I decided to take this photo, I just don’t know why.
Whereas if I had a clear subject then it doesn’t matter how long has passed since I took a photo, I can see why I took that photo. I can say to myself ‘oh, I wanted to capture that sunset or that tree’ even if I screwed up the actual settings and the rest of the composition, at least I would know what the intended subject was.
On the other hand I have images which appear totally random and are not worth keeping at all.
A simple solution to this mistake is to ask yourself ‘what am I photographing and why?’
If it’s for the light then focus your composition on the light. If it’s for a particular object then make that object the clear subject for your composition. If it’s the texture of an object then create an image with that as the subject, just as I talked about in my 5 composition tips video.
If you can answer that question and create images that have a clear subject to them then you will improve your photography and avoid a big mistake!
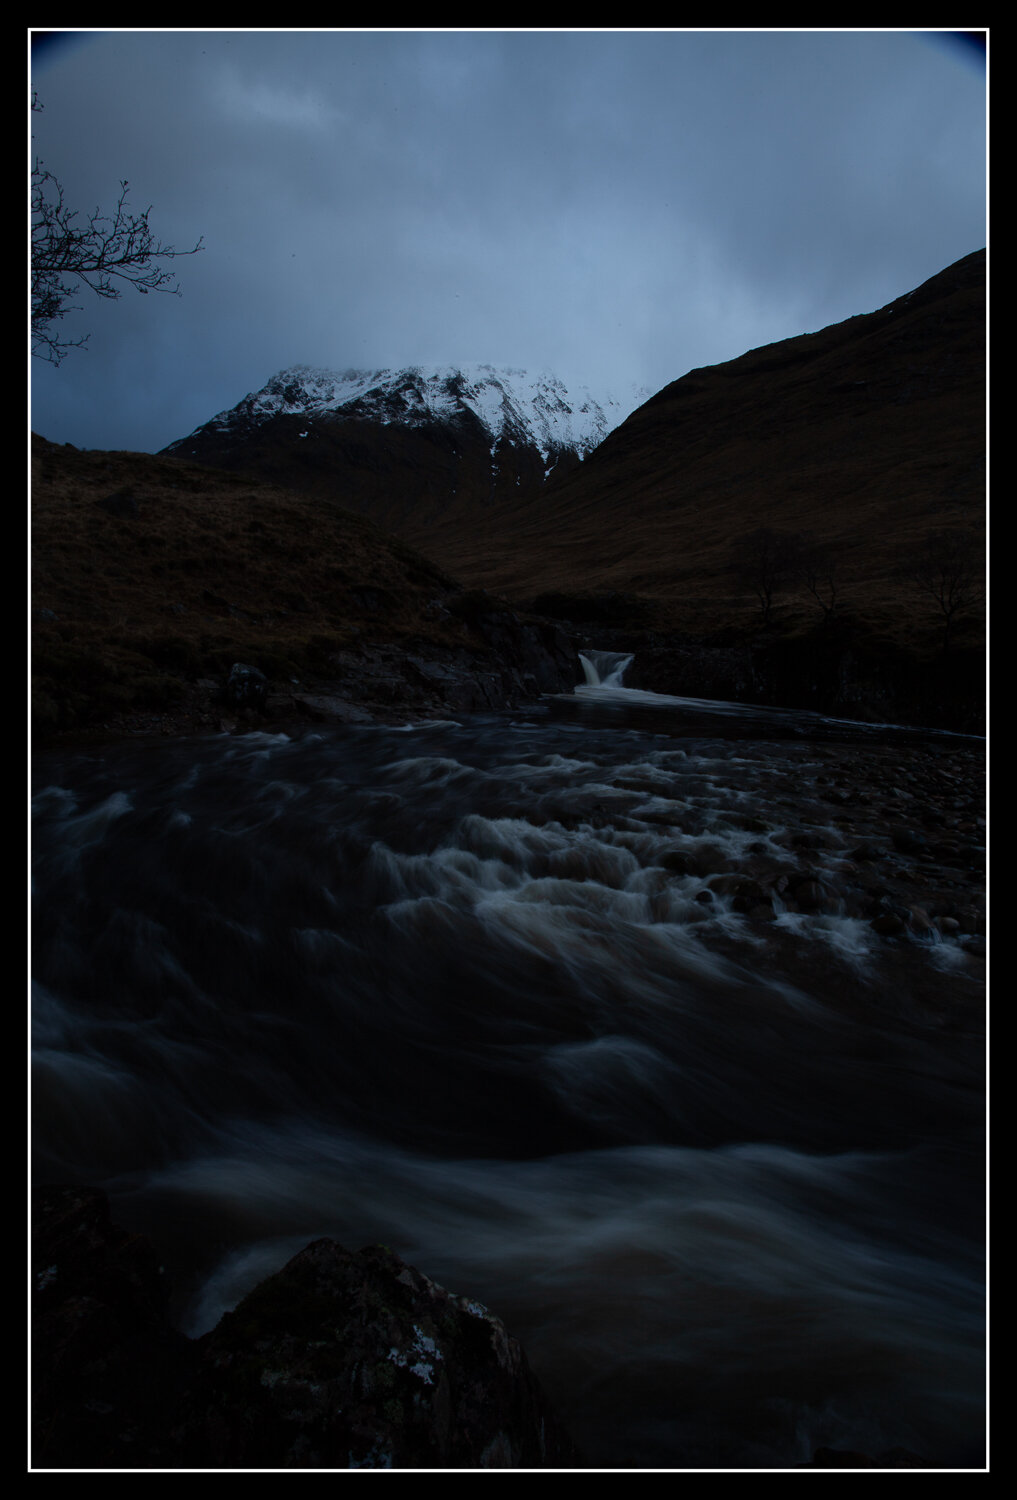
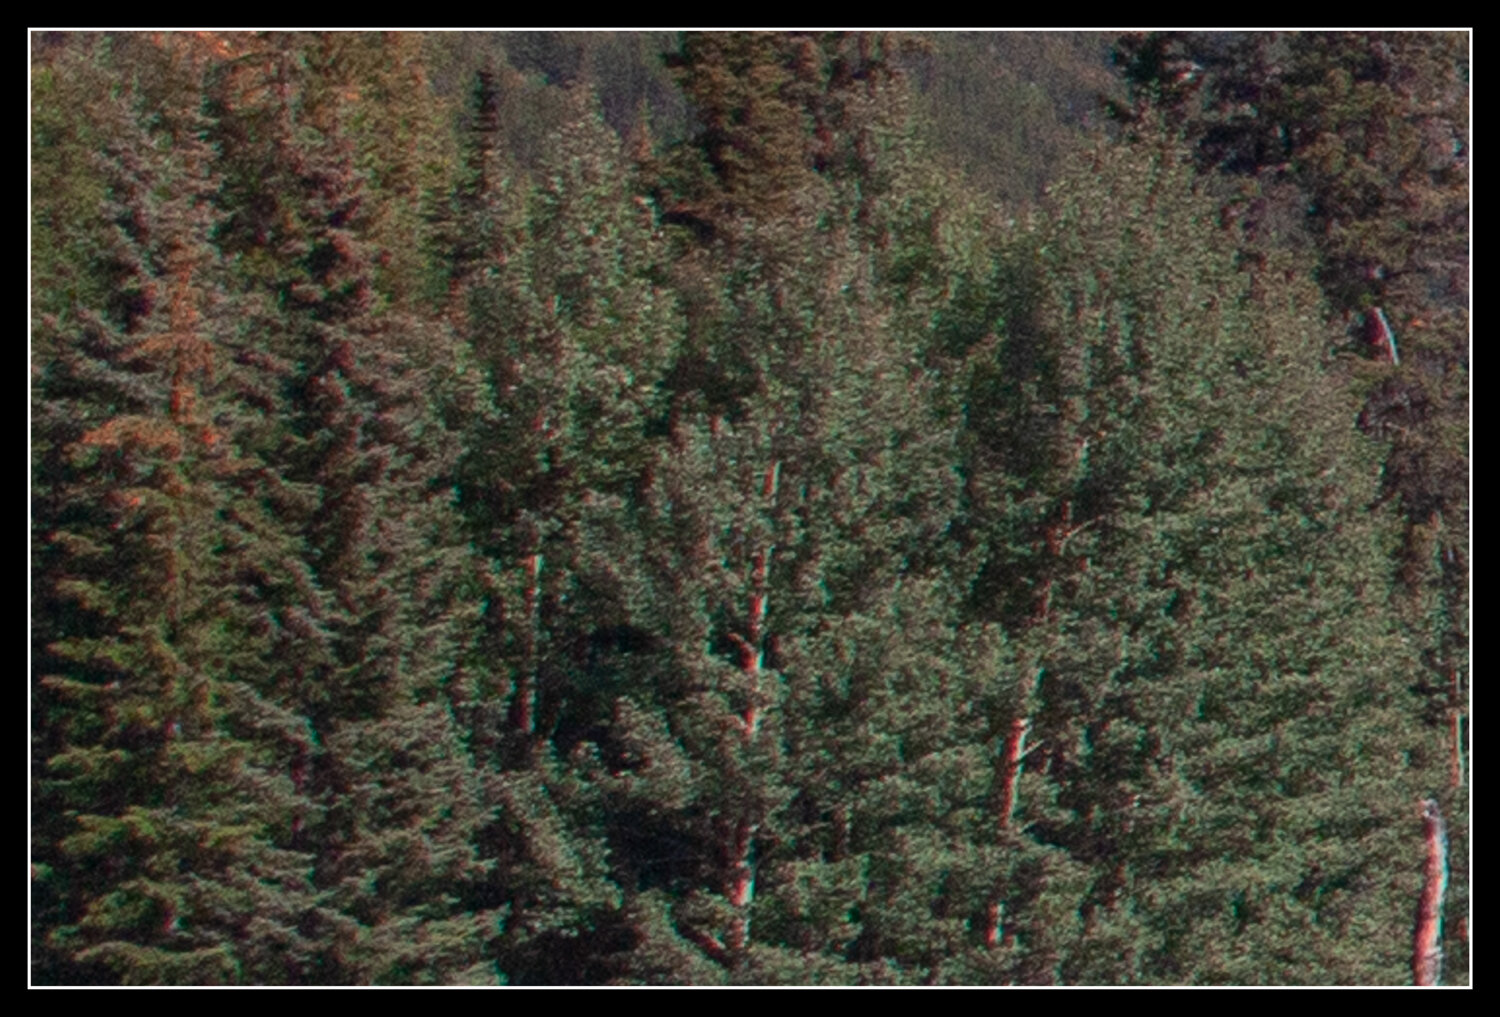
Mistake 3 - Underexposing Images
I mentioned in my 5 tips to improve your photography video that one thing that you should really understand is how to read your histogram. Your histogram is a far better tool than your light meter to understand how the light of the entire scene is working. If you can learn to use your histogram in the field then you will avoid this mistake all together.
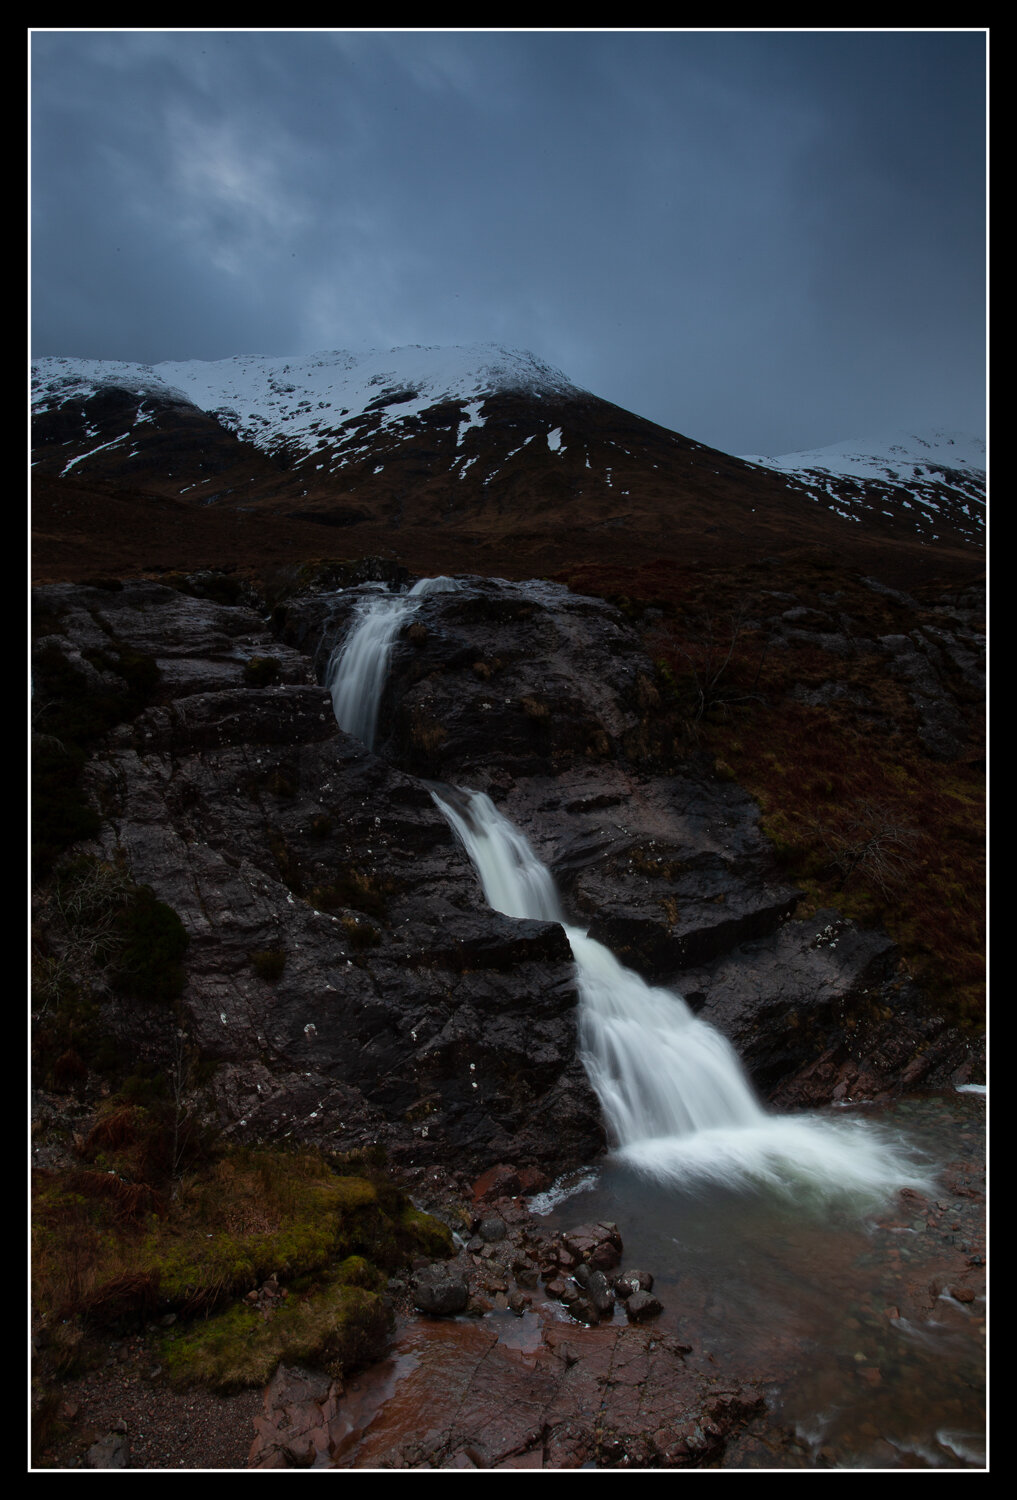
I noticed in a lot of my images that I was underexposing by 1 or 2 or 3 stops even and that left my images very dark. Now, you could say ‘that’s fine, just bring up the exposure while editing’ and you are correct up to a certain point.
This is related to the dynamic range of a camera, basically the dynamic range is how much data the camera can interpret about the light of a scene. Our eye has a dynamic range of approximately 24 stops, this allows us to look at bright and dark areas of a landscape at the same time and see into shadows. Whereas top range DSLR’s have a dynamic range of about 14 stops. This means that the shadows that we can see with our eye will be almost black for a camera and the highlights will be almost white.
The darker those shadows are the less data available for you to edit later. So when underexposing your images you are crunching those shadows down and when you try to lift them when editing you end up with muddy, noisy, colour shifts in the darker areas because the computer and the camera don’t understand what the colours should look like.
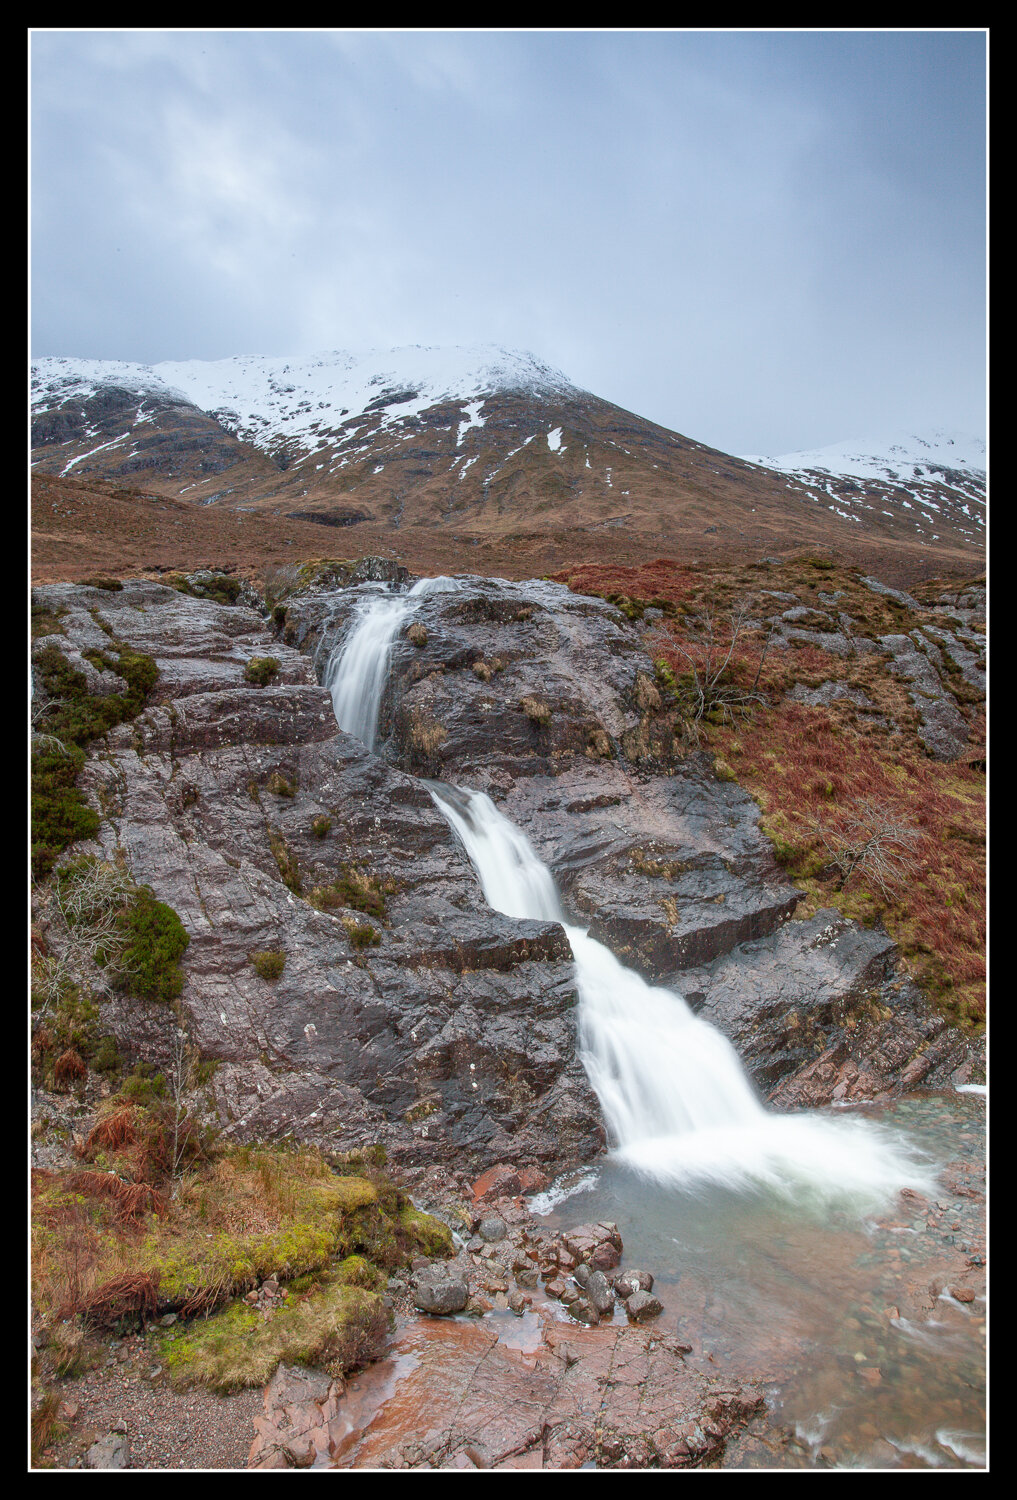
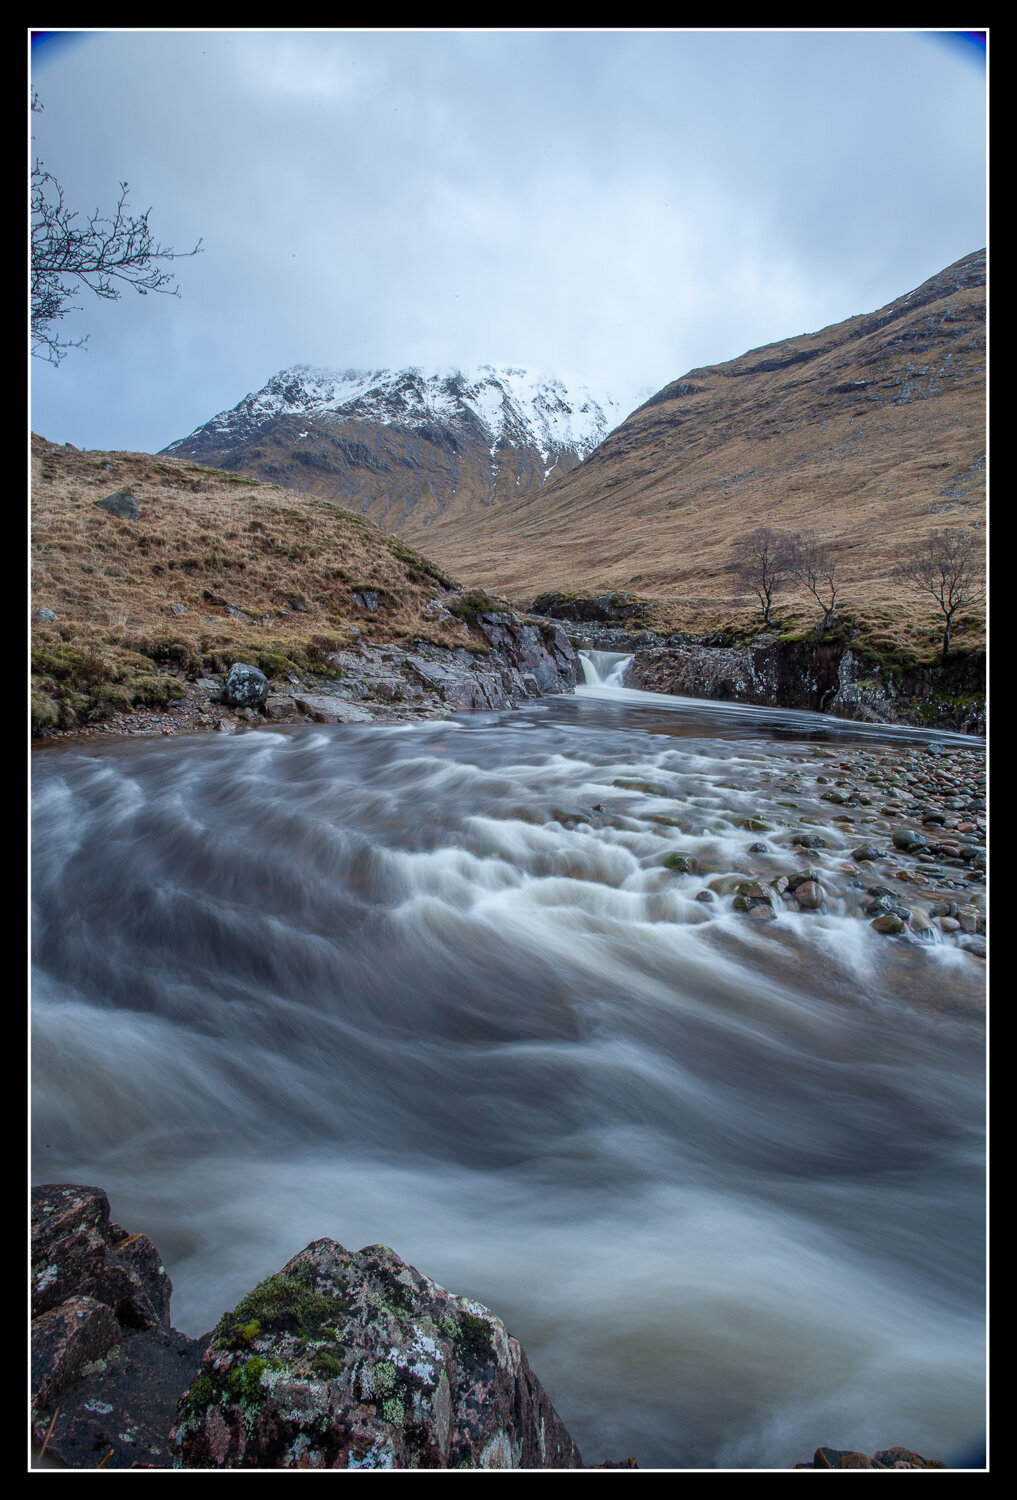
Now the other side of the coin is overexpsoing and most photographers would tell you that this is worse because you are burning that data away completely. If you have a particularly bright area to your image that is what you should be trying to expose for to prevent a white block to your images. Being able to read your histogram will help you prevent over exposing the highlights and underexposing your shadows. You want a balanced image where the information for both your highlights and shadows are available for you to use when editing.
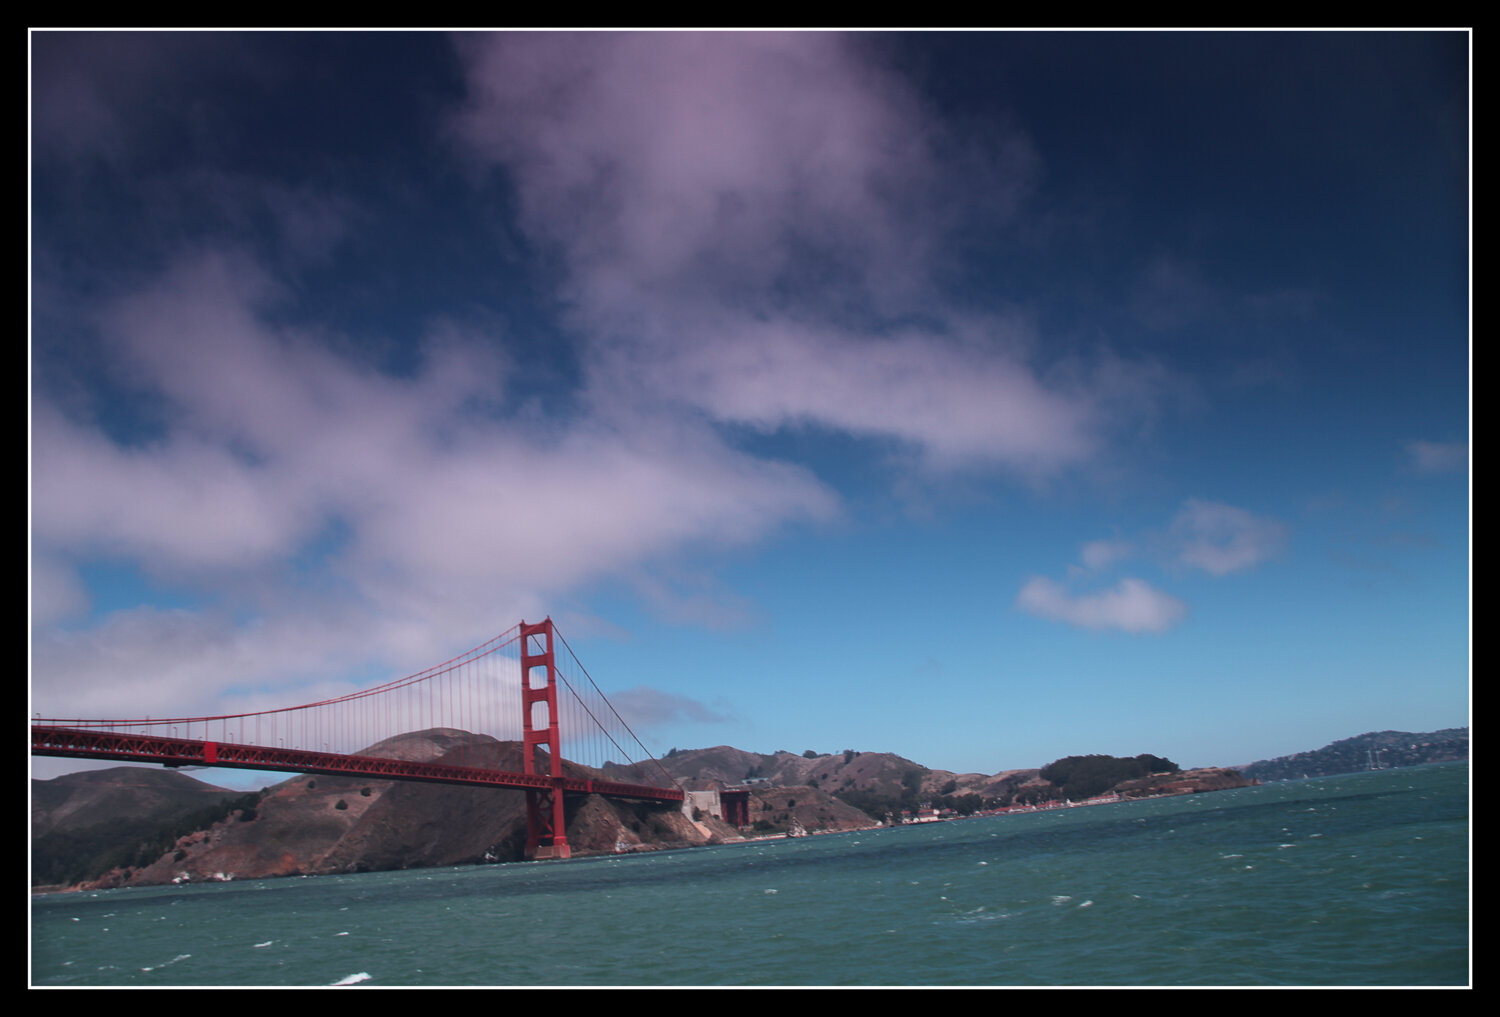
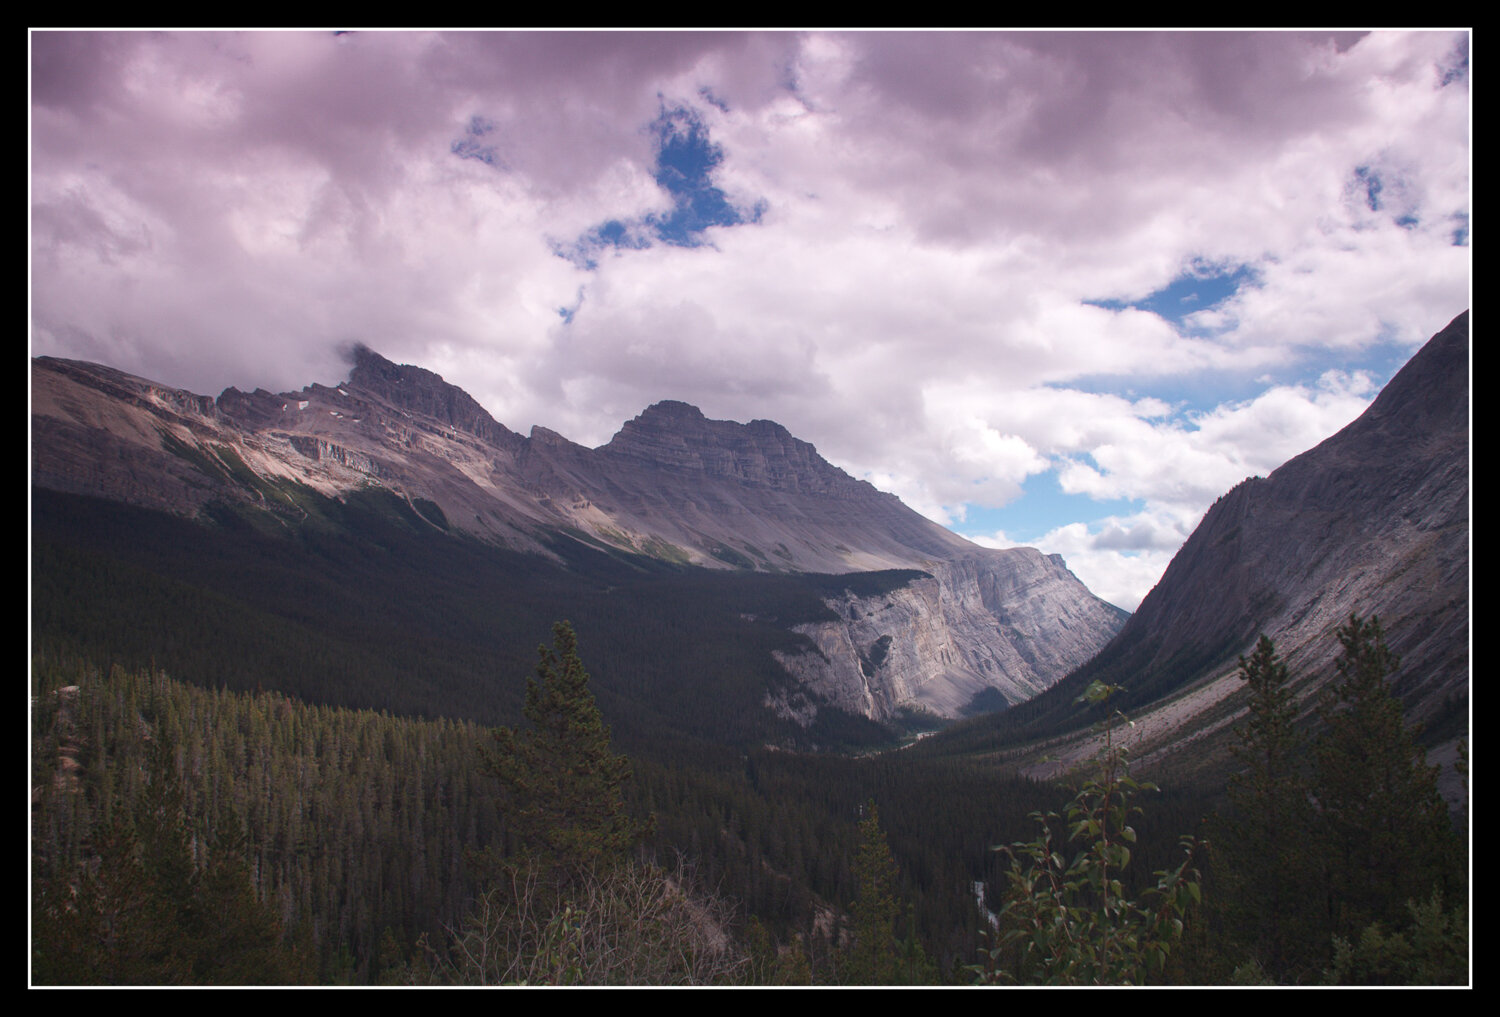
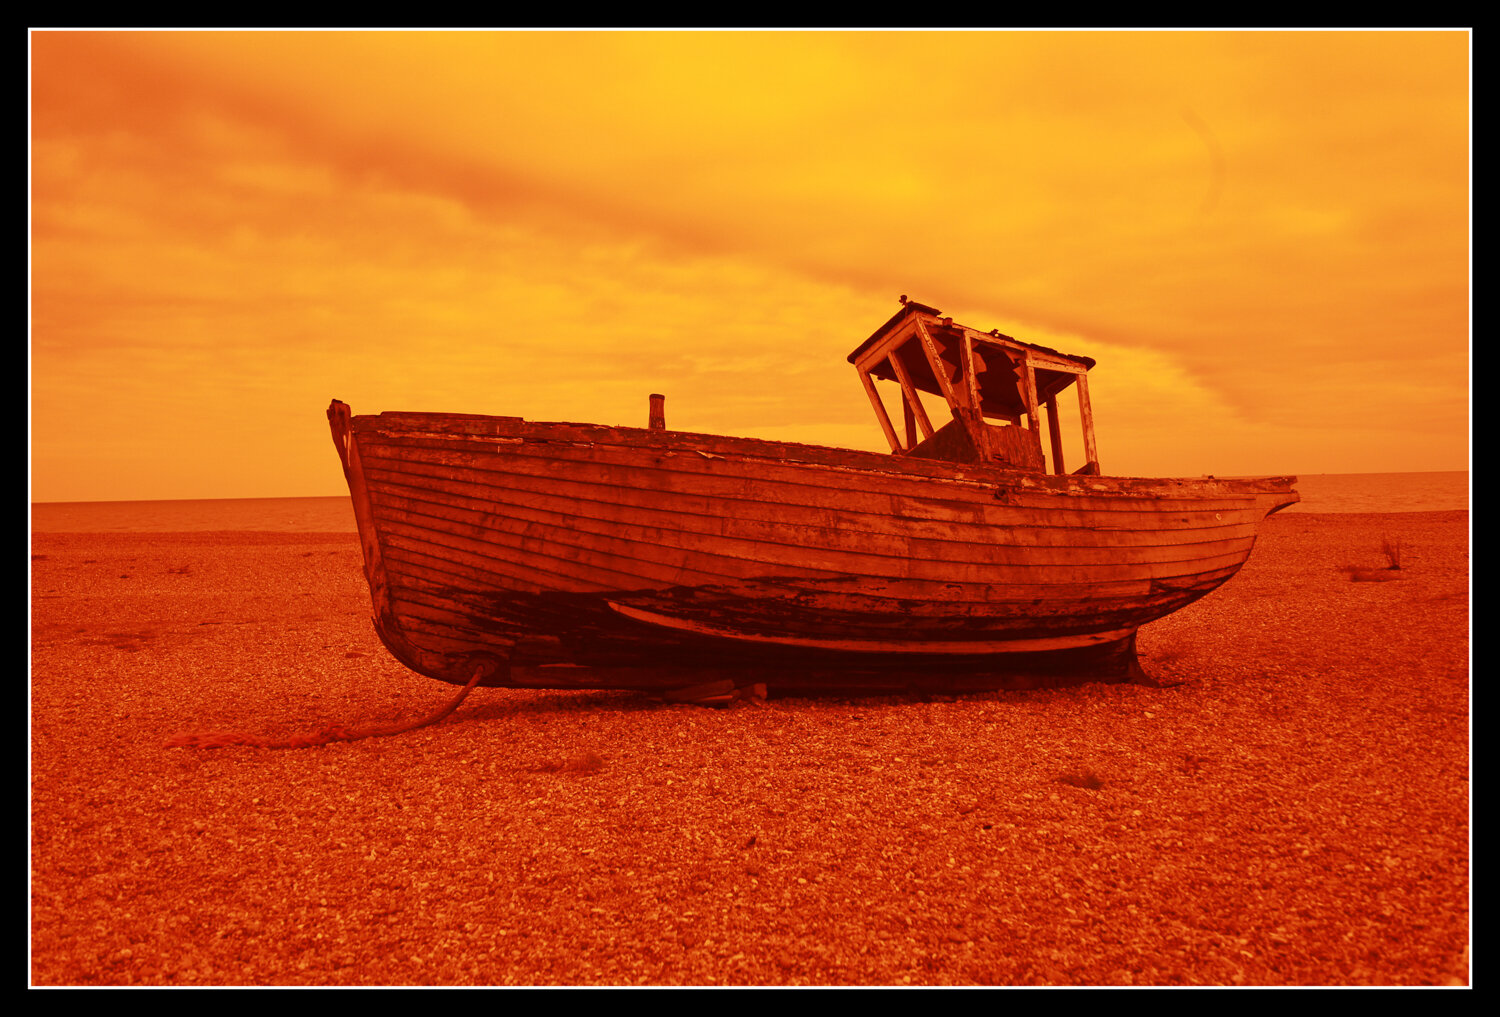
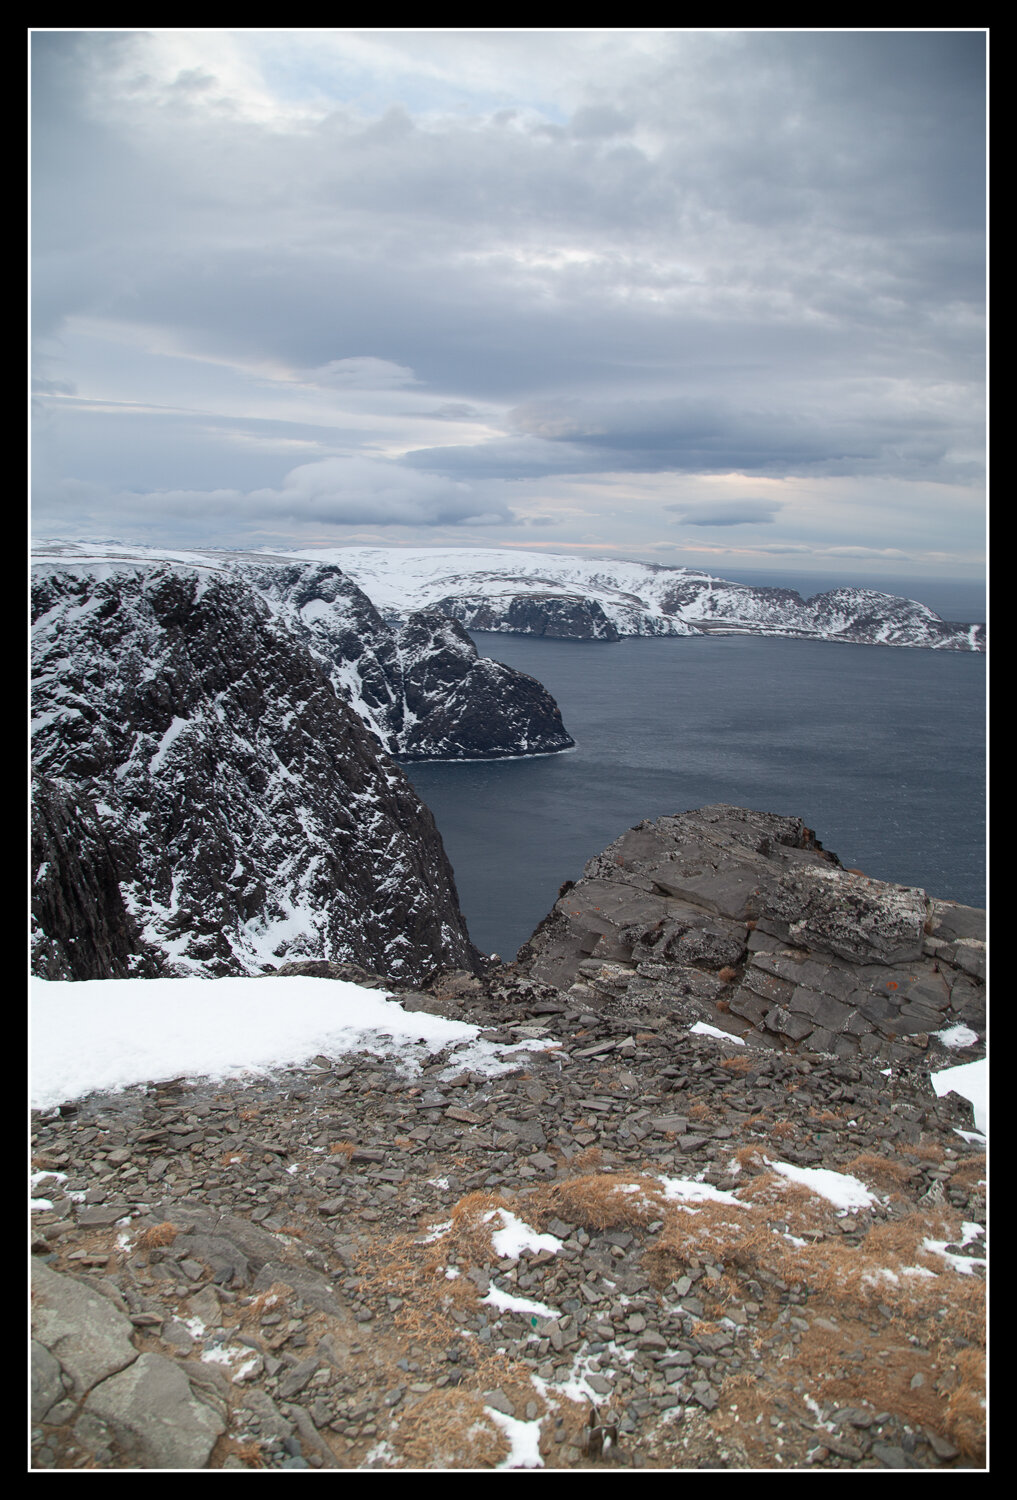
Mistake 2 - Using Cheap ND Filters
If you are just starting out in landscape photography and you want to try using filters for the first time, I honestly suggest you ask a friend, someone from a photography club or during a guided experience if you can try their expensive filters. Filters can be a great addition to most camera bags and allow you to try different styles of photography, such as long exposures and I would not be without them if I was going anywhere with water. I consider filters to be an essential tool for photographing any aquascape.
In particular I would always have a 6 stop and a polariser as my basic two filters: the 6 stop for slowing down water (think waterfalls, rivers, the sea, etc) and the polariser to remove glare and reflections from the surface of water. In reality I have the full K9 set made by Kase filters and they are excellent, but to be frank, they are horrendously expensive. So for years I used some cheapo filters that I bought off of Amazon, something like £30 for every filter you can think of, including some colour filters for black and white photography. They’re probably still at my parent’s house…
The colour filters for black and white photography were really fun to experiment with but they are largely useless and I haven’t bothered to replace them. If I want to use colour filters for anything then I’m sure they will work fine.
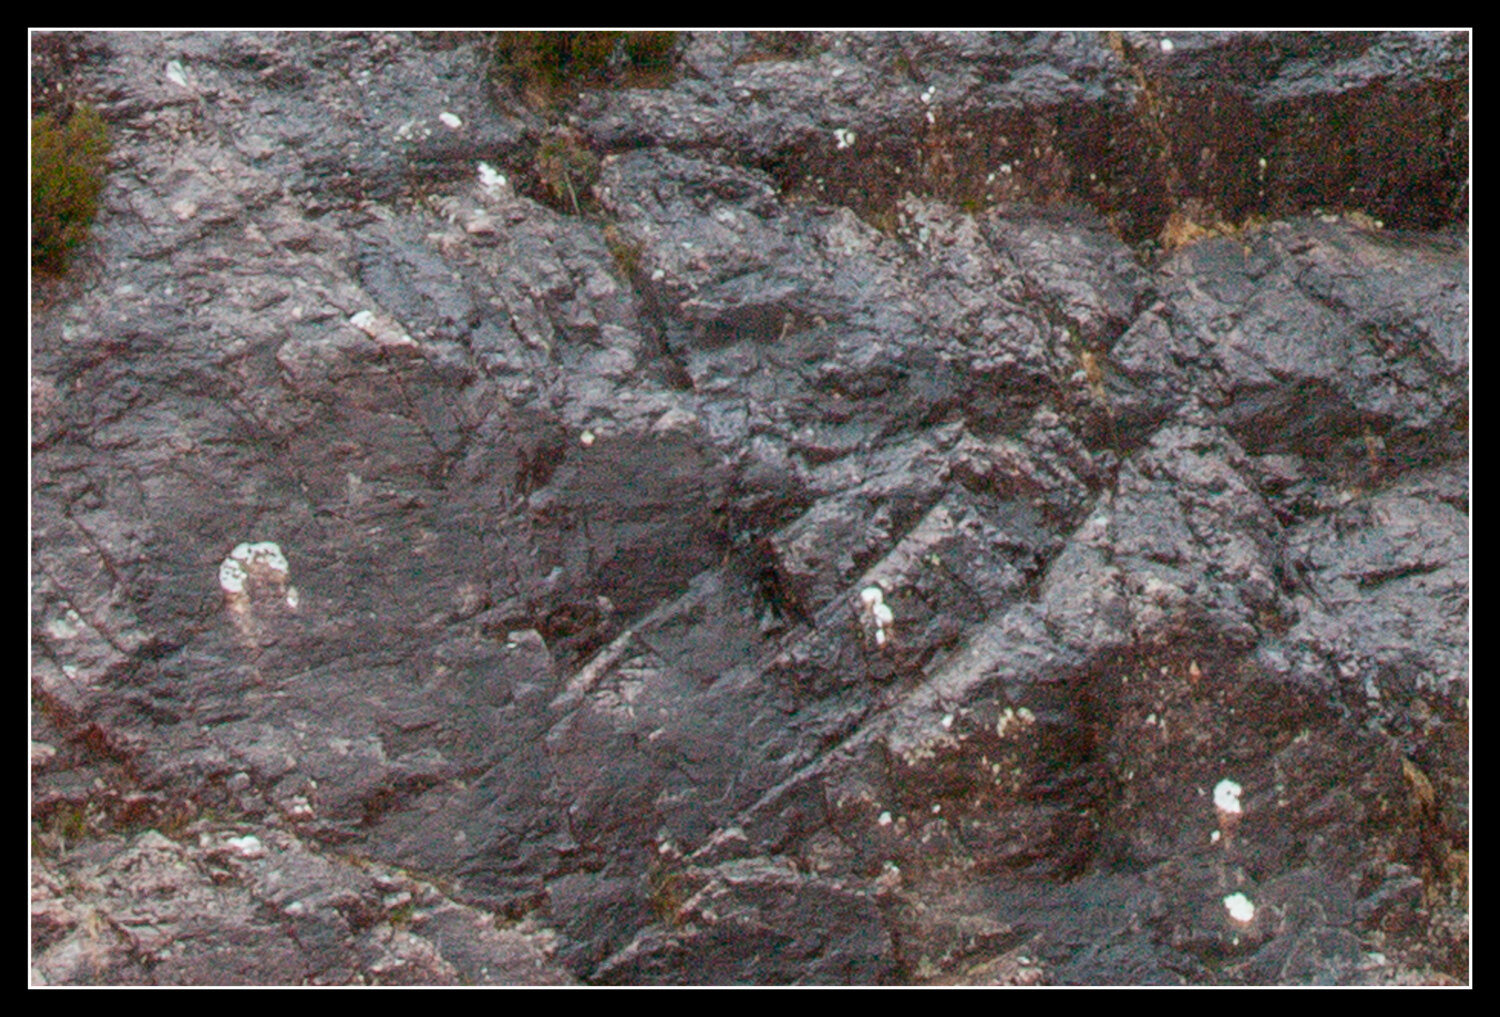
But the cheap ND filters have given all of my images an absolute horrible colour cast. Now you might say ‘oh you can correct that in post’ but honestly I’ve tried loads of different things and always the colours are not rendering in a realistic way and the images have been irreparably damaged thanks to this colour cast.
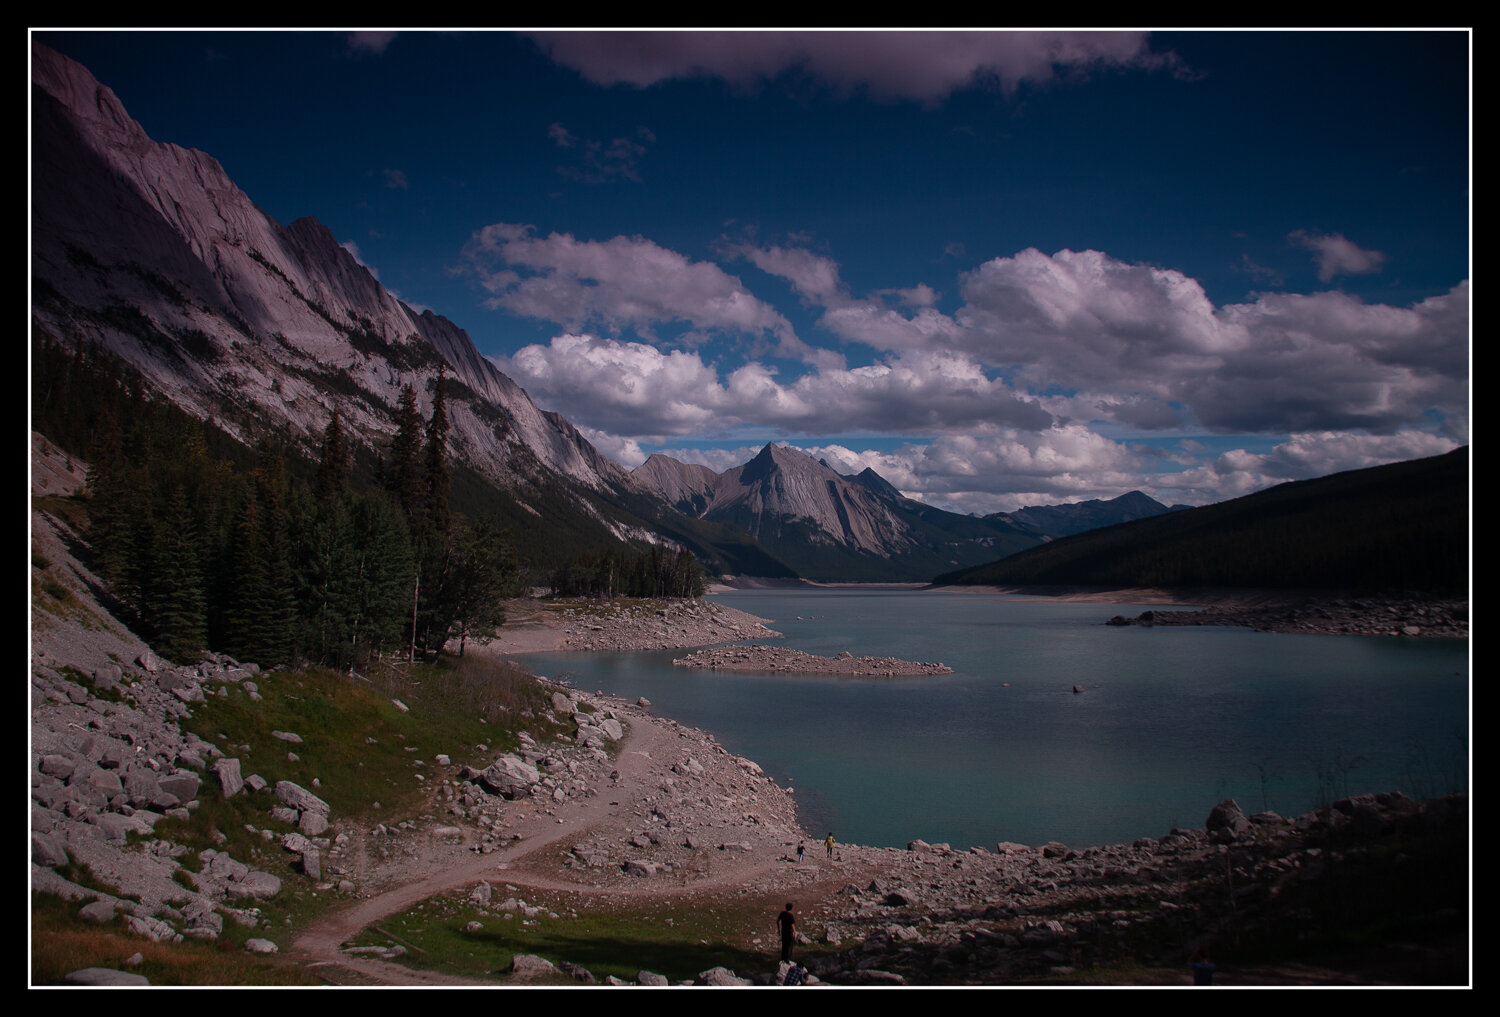
So I implore you to invest early in some top line filters, otherwise like me you will have wasted a lot of time and effort on images that you will never be able to save. The majority of my images from a holiday in Canada and the USA are completely useless and it’s such a shame. If I had some decent ND filters then even if I made mistakes in their use, it would be easier to save the image.
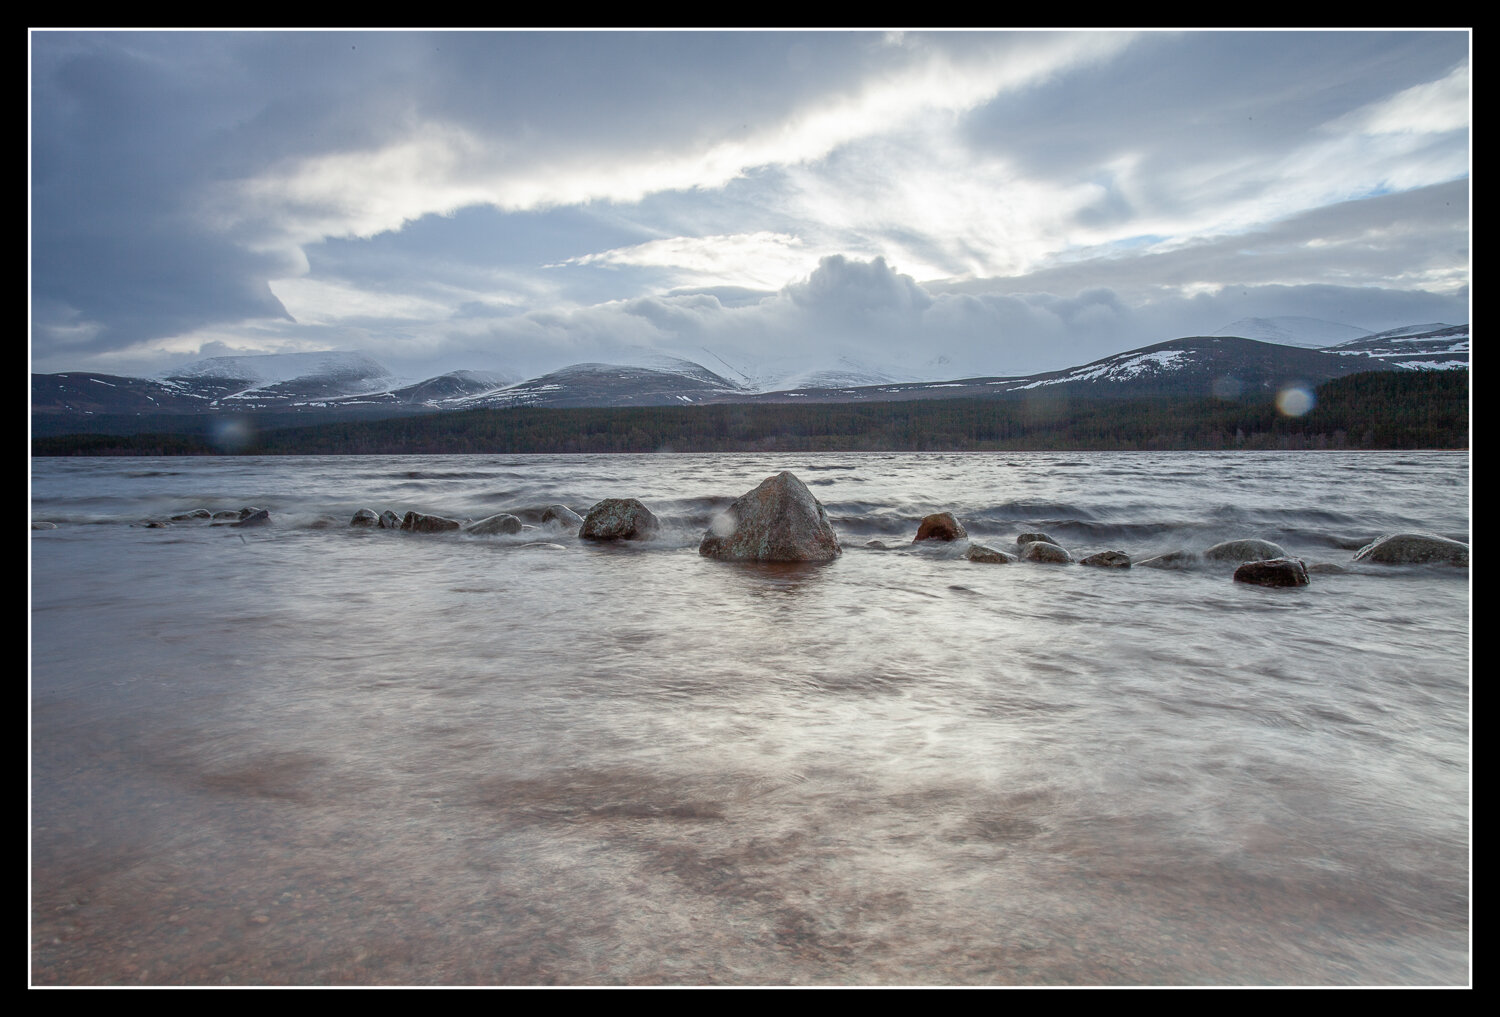
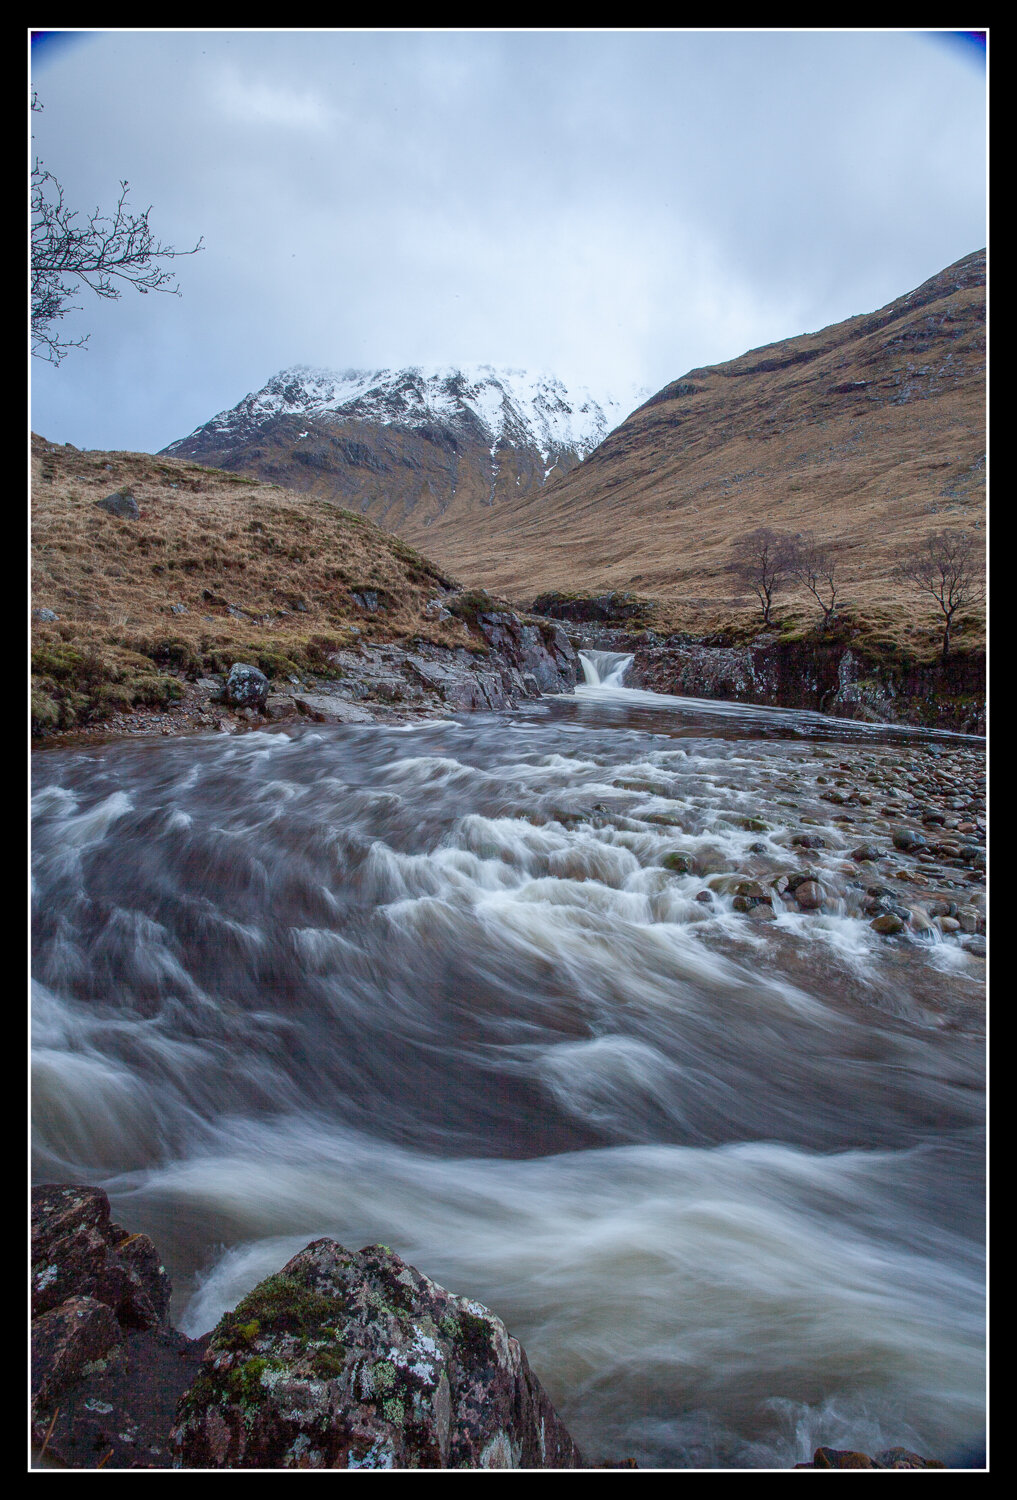
Mistake 1 - Not Protecting From the Rain
Yep, I know a stupid mistake but a mistake I made frequently, especially on holiday in Scotland.
Protecting your equipment from rain is a big one, although high end cameras say they are weather proof, do not believe them! They can have gaps in the weather sealing which I learnt to my great displeasure. In 2018, I went to a black grouse lek to photograph the birds doing their spring mating ritual. Typically this involves you going to the hides at about 1 or 2 o’clock in the morning and waiting in the cold hides until light comes at about 6-7 o’clock. Why so early? It’s so you don’t disturb the birds before they come to the lek and when they start arriving it is one of the most incredible sounds you will ever hear. Utterly otherworldly.
When we arrived at the hides it was raining heavily, and I mean heavily. I was carrying my camera on the tripod over my shoulder and we got into the hides and settled down, waiting for some light. Hours passed by. The light was just beginning to come, and I tentatively pressed the shutter of my camera. It took a couple of images but then shut off unexpectedly. I was restarting my camera when the birds flew off completely and that was the day over. They left before the sun rose.
As we were leaving the hide my camera fell over and spent 2 seconds on some very wet moss. The rain had stopped and I didn’t think much of it. But later that day I came to take pictures of another bird and after 2 frames my camera shut off completely and refused to turn back on. So I sent it off to be repaired and I was told that the motherboard was completely fried and needed replacing, although the camera was weathersealed there were a couple holes where the water had entered and broken the camera. The repairs were more than £500.
Two lessons from that: 1. try and protect your gear from the rain, and 2. get insurance!
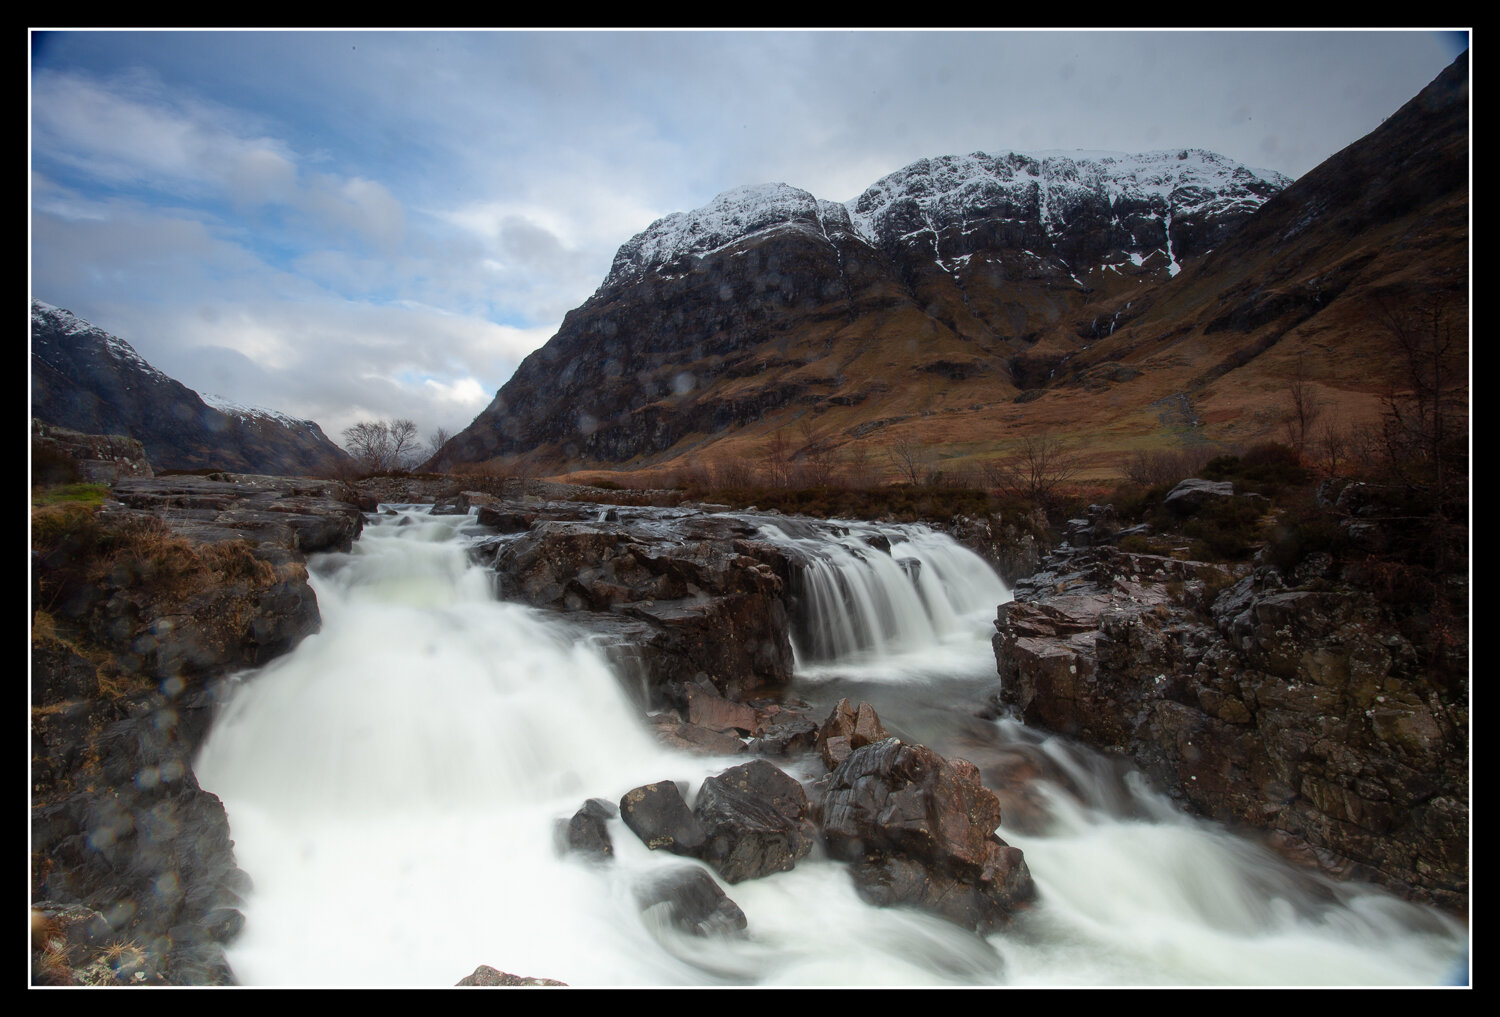
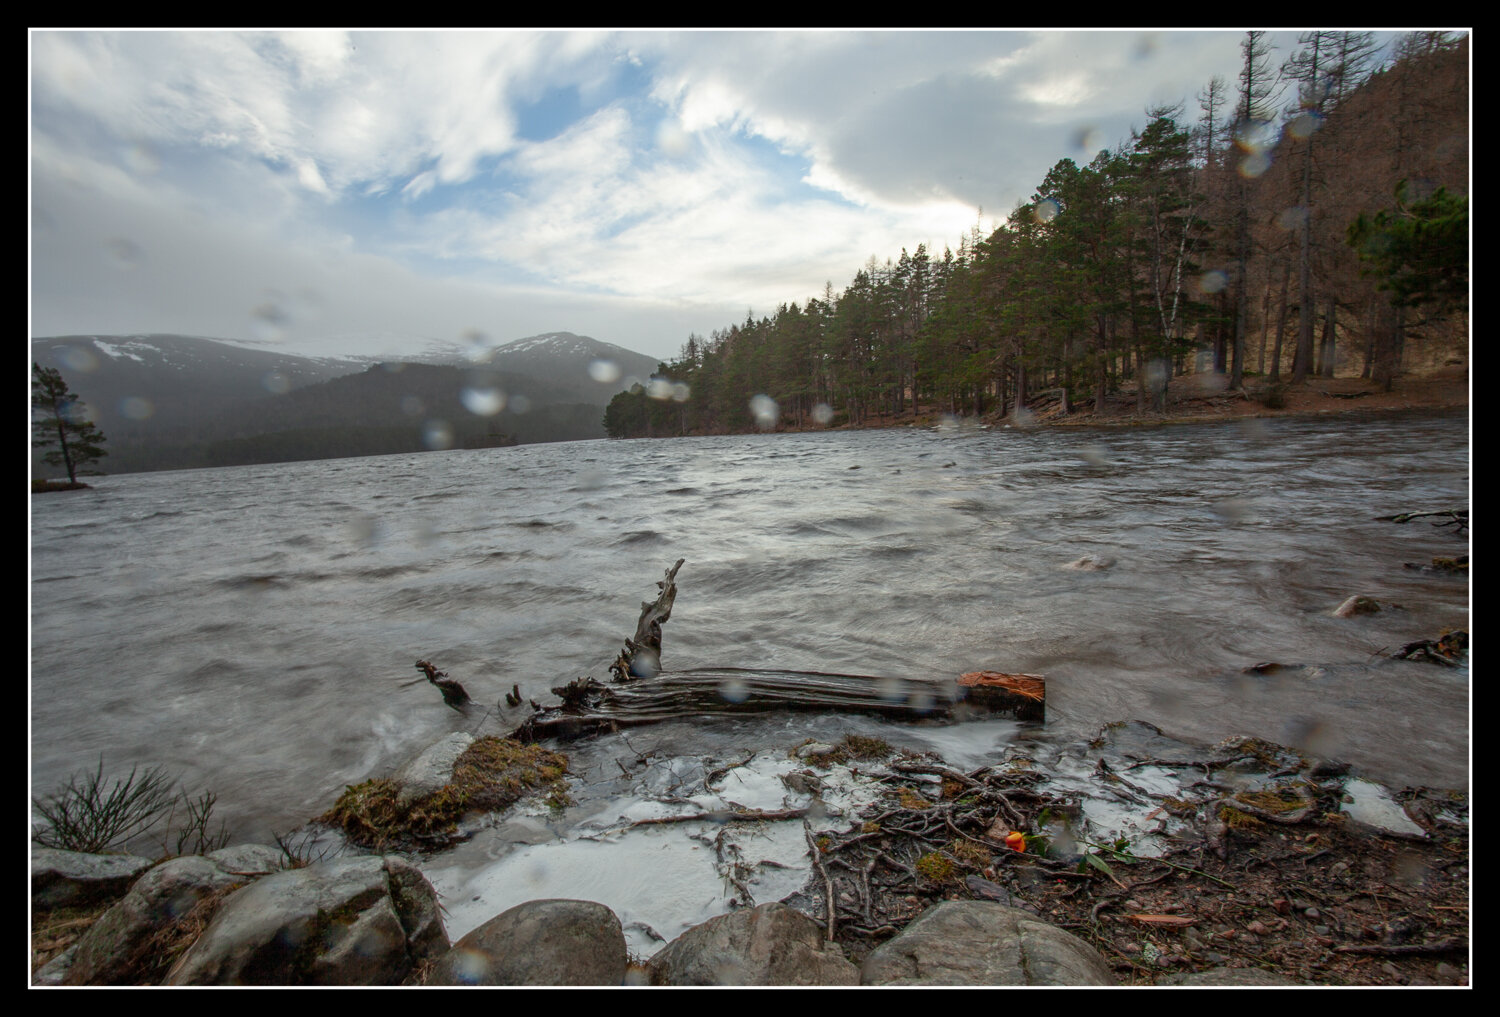
The other reason to protect your gear form the rain is rather less dramatic. When I visited Glen Affric back in the Autumn I was very fastidious in cleaning the front of my lens of the rain and that’s because, I use to just leave the lens uncovered in the rain and my images were ruined with rain spots.
So when doing photography in the rain, try and protect your camera with a rain jacket and try and protect the front of your lens with a cloth. Clean your lens regularly in between shots to remove the rain drops and hope that they don’t turn up in your images!
So to summarise those 5 mistakes:
1. Not Protecting From the Rain
2. Using Cheap ND Filters
3. Underexposing your Images
4. No Clear Subject
5. Not Checking Your Edges
If you can avoid all 5 mistakes you will be improving your photography a lot faster than I did!
Don’t forget to subscribe to YouTube channel!
About the Film
Just a little information about the film and how I made it, as well as some links to equipment.
I edited the film using the Free Version of DaVinci Resolve. It’s an incredibly powerful piece of software that I am still trying to understand and will possibly write an article about in the future.
All the tracks featured in this film were downloaded from Epidemic Sound check out their website here: https://www.epidemicsound.com/referral/ba2dau/ (If you follow the link and decide to purchase a subscription with Epidemic Sound then I will receive 2 months free for referring you to their services)
In Dreams by Hushed
Concussions by Nihoni
Self Help by Ebb & Flod
Thoughts About The Past by Elm Lake
Dreamy by Megan Woodford
Forest Canvas by Elm Lake
A short Kit List
These are affiliate links, which means if you follow them and make a purchase I will earn a small commission for referring you to Amazon UK. You can find out more about affiliate links here.
Main Vlog Camera is a simple Panasonic G80 with the kit lens, its a great little mirrorless camera that I got for the sole purpose of creating YouTube videos. It’s capable of filming in 4k and seems to do everything that I want it to.
Rode Mic, I got this little microphone to boost the audio quality from the inbuilt microphone.
Action Camera, I use this to film myself when walking. It’s a simple DJI Pocket Osmo camera that has a motorised 3 axis gimbal head, which means that I stay in focus and static while the landscape around me moves. It’s also capable of filming in 4k and the audio quality is quite good.
Voice Recorder, to boost the audio quality when it’s windy or I’m using the action camera I use this handy little voice recorder with a lapellier microphone to record audio.
For a complete Kit List you can read through what equipment I take with me when I go out here.
Related Episodes


Written by Daniel Long
Daniel Long created DRL Photography as a place to showcase his work as a photographer. Daniel has learnt a lot about photography and wishes to impart this knowledge with you, although the world is an ever changing place and he always says “you can never learn everything.” So as he makes his way, he continues to learn knew techniques, skills and information about photography. He focuses on Landscape and Wildlife photography and Daniel has a special focus on Scotland, his home away from home. As well as writing about photography and taking pictures out in the field, Daniel offers guided photography days so he can share his knowledge and locations in an effort to give his clients the best opportunities possible. Have a browse around this website to see his images, guided experiences and articles about photography. If you have any questions don’t hesitate to get in contact.